Vinyl plank flooring is one of the most popular choices for homeowners who want style, durability, and an affordable price tag. It looks like hardwood but is easier to install and maintain. Learning how to install vinyl plank flooring yourself saves money and gives you a sense of accomplishment when you transform your space.
This step-by-step guide covers everything from preparation to installation and finishing touches. You will learn the tools you need, common mistakes to avoid, and maintenance tips that keep your new floor looking fresh for years. Follow these instructions carefully, and you can achieve a professional-looking result without paying for expensive labor.
Why Choose Vinyl Plank Flooring
Vinyl plank flooring is built with multiple layers that provide strength, waterproofing, and a realistic wood-like appearance. It feels softer underfoot compared to ceramic tile and is much easier to install. It resists scratches and stains, making it perfect for homes with kids, pets, or high traffic.
Its affordable price and easy installation make it ideal for quick renovations. In most cases, you can complete an entire room in a single weekend. If you want a fresh, modern look without a major remodeling budget, this flooring type is an excellent choice.
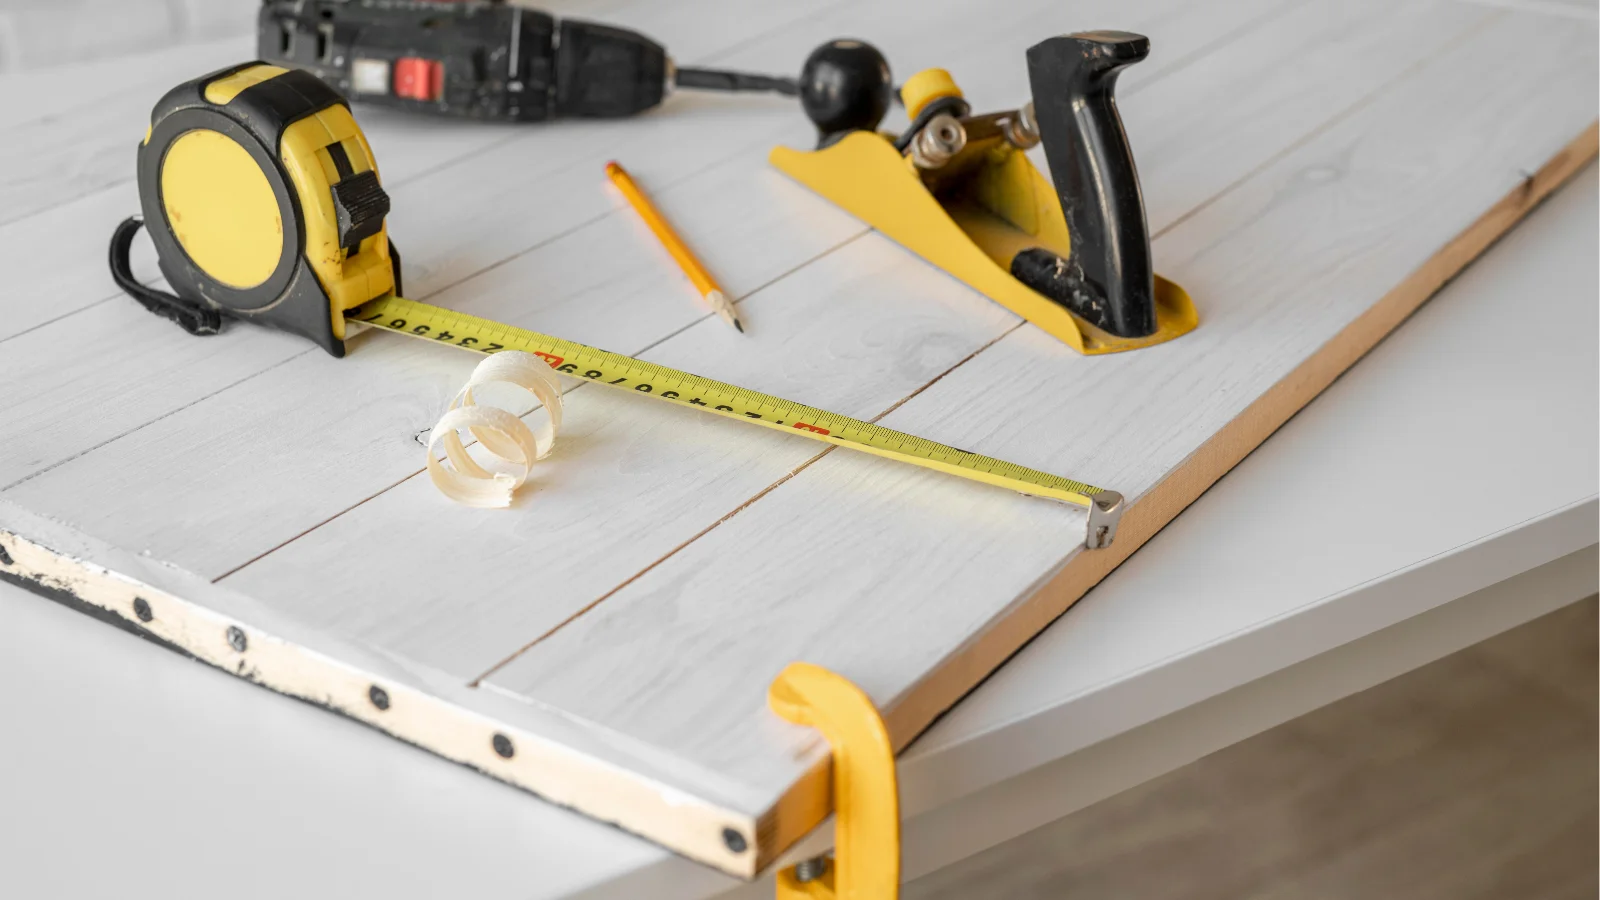
Tools and Materials You’ll Need
Gather everything before starting to avoid delays. You will need:
- Measuring tape
- Utility knife or vinyl plank cutter
- Spacers for expansion gaps
- Rubber mallet
- Tapping block
- Pull bar
- Straight edge or carpenter’s square
- Safety gloves and knee pads
Step-by-Step Guide: How to Install Vinyl Plank Flooring
Follow these steps for a professional result.
1. Prepare the Subfloor
Clear the room and remove old flooring if needed. Sweep and clean thoroughly. The subfloor must be dry, flat, and free of dust or debris. Fill low spots and sand high areas to create a level surface. A smooth subfloor prevents gaps, squeaks, and uneven planks.
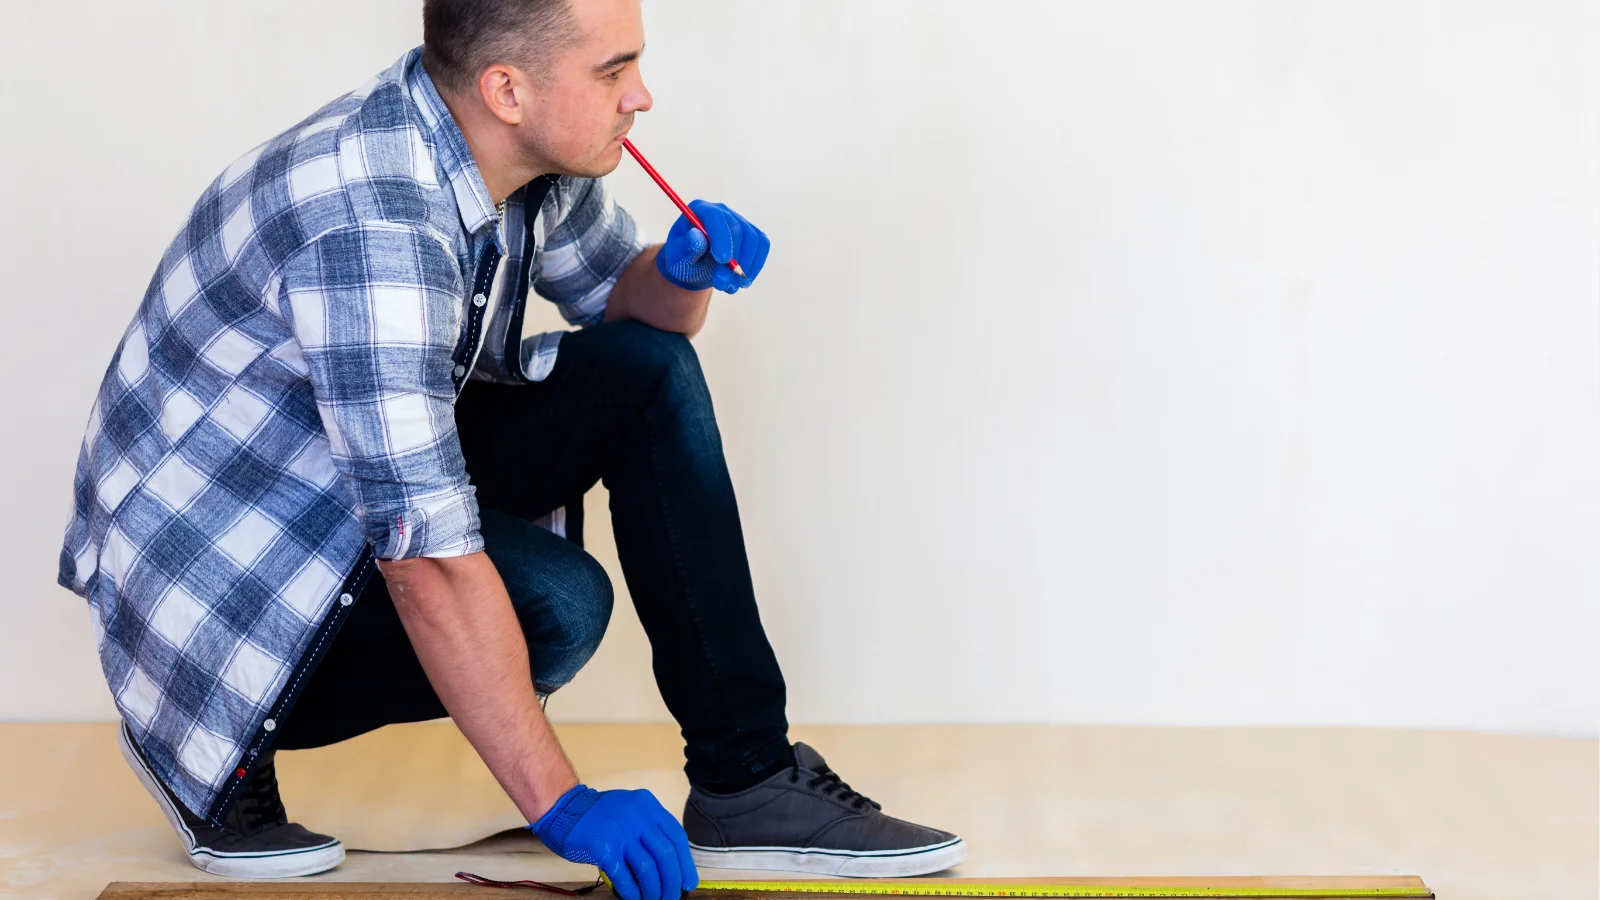
2. Plan Your Layout
Measure the room’s dimensions and calculate how many planks you’ll need. Plan your layout so that the planks at the end of each row are not too narrow. Start along the longest wall for a balanced appearance and mark reference lines to keep rows straight.
3. Acclimate the Planks
Place the planks in the room for at least 48 hours before installation. This step lets them adjust to the room’s temperature and humidity. Skipping this can cause the planks to expand or contract after installation, leaving gaps.
4. Install the First Row
Place spacers along the wall to create a 1/4-inch expansion gap. Lay the first plank with the tongue side facing the wall. Click the next plank into place, working end to end. Make sure seams are tight to prevent water from seeping through later.
5. Stagger the Seams
Cut the first plank of the second row sothe seams are staggered. This creates a natural wood look and strengthens the flooring structure. Use a tapping block and rubber mallet to lock planks in place without damaging edges.
6. Continue Laying Planks
Work row by row, locking planks together securely. Use a pull bar to tighten end joints where needed. Keep checking your reference line to ensure the planks stay straight. A consistent layout improves the final look.
7. Trim Around Obstacles
Use a jigsaw or sharp utility knife to cut planks around door frames, vents, and cabinets. Measure carefully and take your time. Precise cuts create a polished finish and reduce material waste.
8. Finish the Installation
After all planks are in place, remove spacers and install baseboards or quarter-round molding to cover the gaps. Sweep and vacuum to remove debris, then admire your new floor. You’ve completed a professional installation on your own.
Common Mistakes to Avoid When Installing Vinyl Plank Flooring
Avoid these errors to save time and prevent problems:
- Skipping subfloor prep
- Not leaving expansion gaps
- Forgetting to acclimate planks
- Failing to stagger seams
- Using too much force when locking planks
- Measuring inaccurately and wasting materials
Vinyl Plank Flooring Care and Maintenance Tips
Keeping your vinyl plank flooring clean and well-maintained helps it look new for years and prevents unnecessary wear. Sweep or vacuum daily to remove grit that can scratch the surface. Wipe spills immediately to avoid staining. Use felt pads under furniture legs to prevent damage and keep heavy items from leaving dents in the planks.
Avoid harsh chemicals and stick to vinyl-safe cleaners for routine mopping. Place floor mats at entryways to trap dirt before it reaches your flooring. In high-traffic areas, consider using area rugs for extra protection. Regular maintenance not only keeps the floor looking beautiful but also helps preserve its warranty and extend its lifespan.

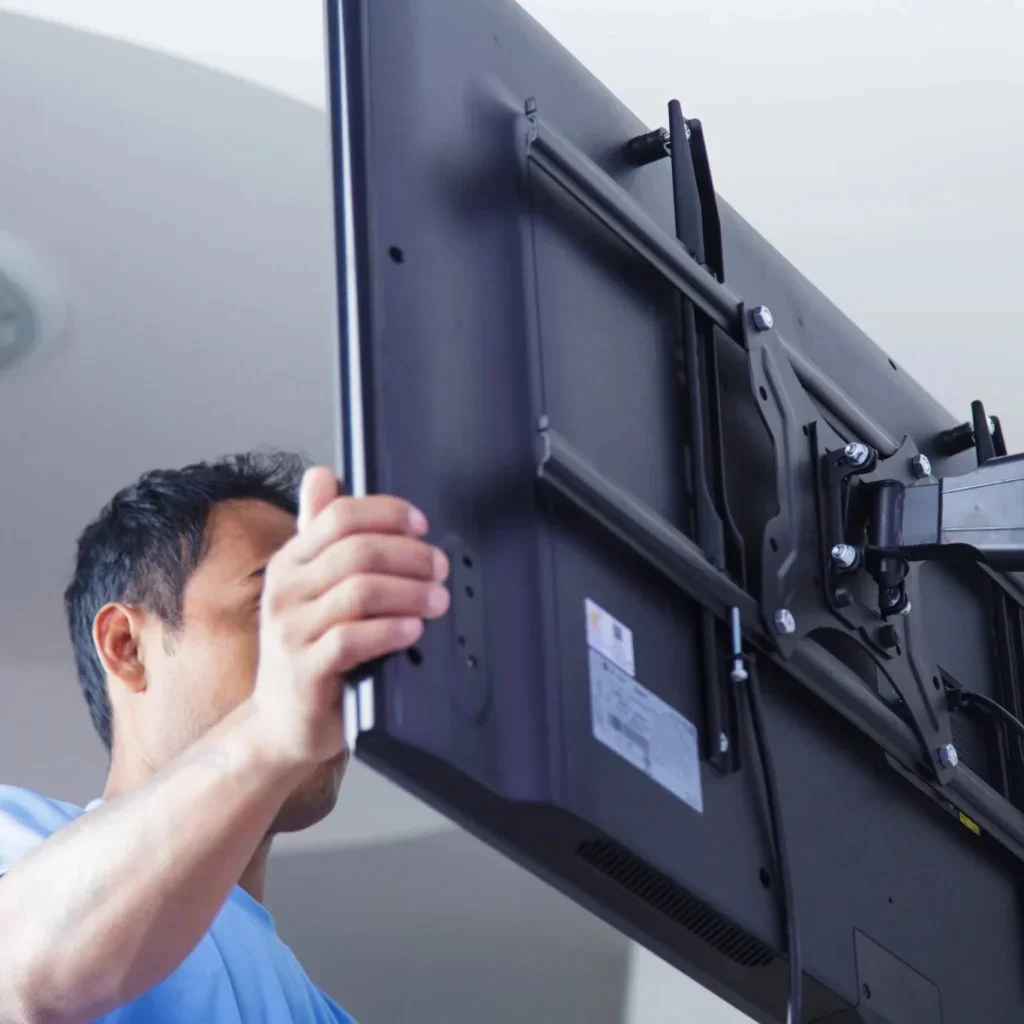
Get Expert Installation Help
Sometimes DIY isn’t the best option. If your subfloor is uneven, water-damaged, or requires leveling, professional help ensures the job is done right.
Hiring an installer saves time when you have a large space or complex cuts around stairs and doorways. For professional results, check out our Floor Installation & Repair page and schedule a consultation.
Final Thoughts
Learning how to install vinyl plank flooring is one of the easiest ways to give your home a quick and affordable makeover. With the right tools, proper preparation, and patience, many homeowners can complete the project in a single weekend and enjoy a durable, attractive surface.
If you prefer expert assistance, Caspi Home Service offers professional vinyl plank flooring installation to ensure a flawless finish and save valuable time. Either way, new vinyl plank flooring can transform your space and add long term value to your home.
Frequently Asked Questions
Can vinyl plank flooring be installed over tile?
Yes. Vinyl plank flooring can go over ceramic tile if the surface is clean and level. Fill grout lines for a smooth finish.
Do I need underlayment for vinyl plank flooring?
Some planks include an attached underlayment. If yours don’t, add a thin foam underlayment for cushioning and sound reduction.
How long does installation take?
Most DIY projects take one to two days. Time may vary based on room size, subfloor repairs, and complex cuts.
Can vinyl plank flooring handle moisture?
Yes. Most products are water-resistant or waterproof, making them ideal for kitchens, bathrooms, and basements.