A door is more than just an entry point. It provides safety, privacy, and style to your home. Over time, doors may become damaged, outdated, or inefficient. Knowing how to replace a door ensures your space stays secure and visually appealing while avoiding costly problems caused by poor insulation or structural weakness.
Replacing a door might feel intimidating, but it’s manageable with the right approach. With careful preparation, accurate measurements, and step-by-step execution, homeowners can achieve reliable results. Whether you’re upgrading for aesthetics or functionality, this guide explains the full process clearly. From tools to professional services, you’ll find everything needed to complete the project effectively.
When Is It Time to Replace Your Door?
A door doesn’t always need replacement, but some warning signs make it obvious. Look for these indicators before starting the process:
- Difficulty opening or closing smoothly.
- Noticeable cracks, warping, or sagging wood.
- Gaps that cause drafts or noise.
- Damaged locks or loose hinges.
- Outdated design that no longer suits your home.
Ignoring these issues can lead to energy loss, security risks, and reduced home value. Acting early helps maintain comfort and safety. If multiple signs are present, it’s often more effective to replace rather than repair. Doing so provides a lasting solution and allows you to customize the door’s look and performance.
Tools and Supplies You’ll Need
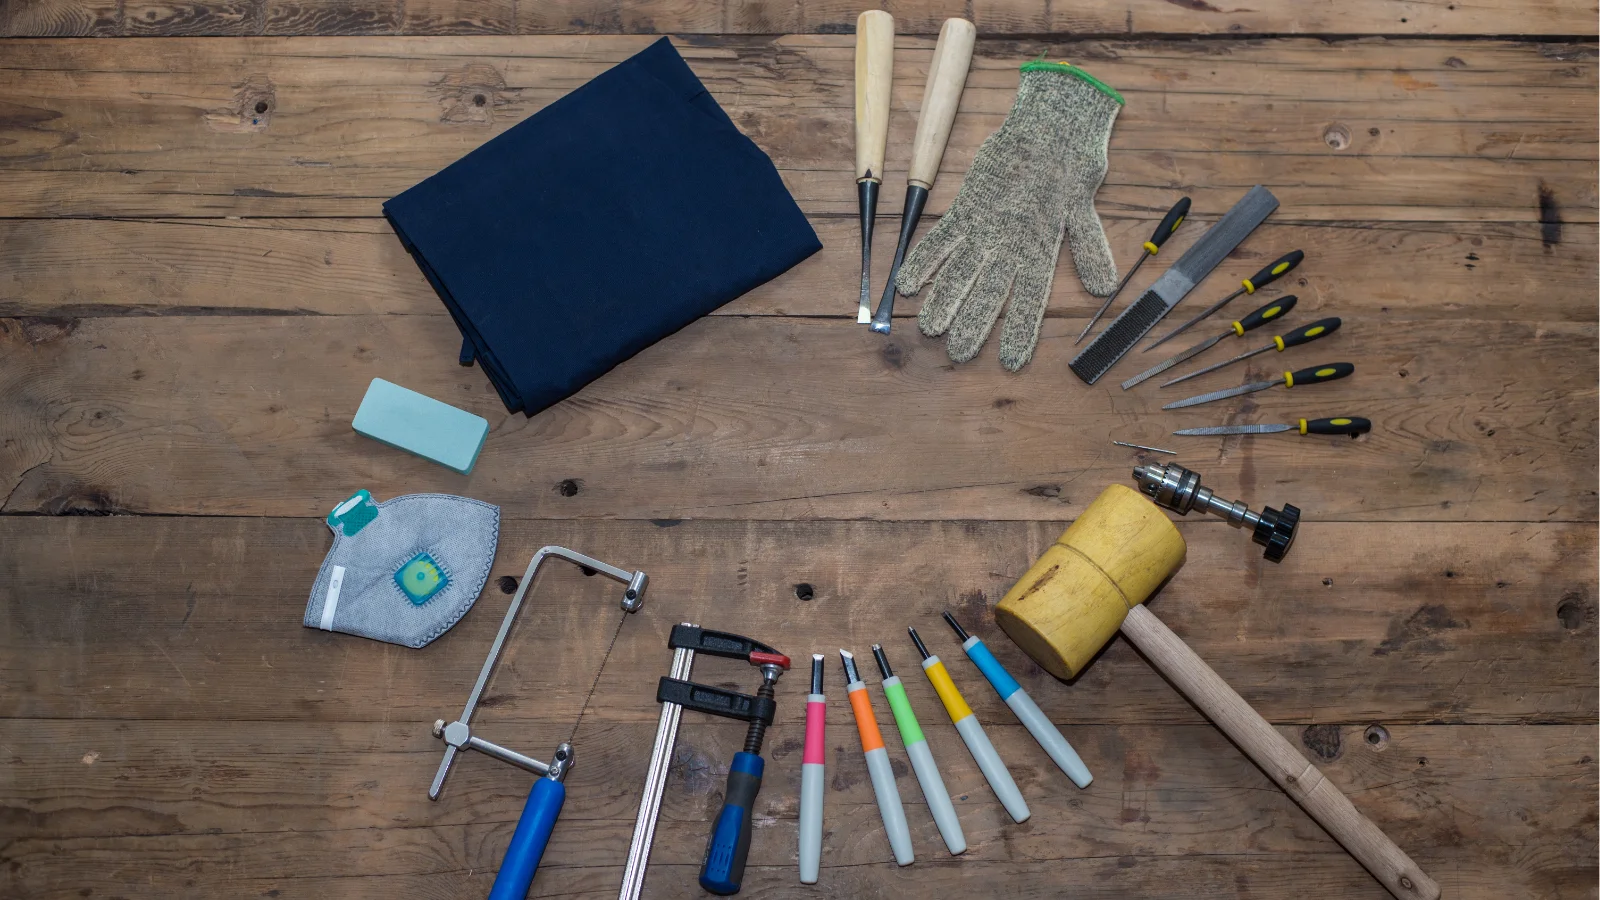
Every successful door replacement begins with the right tools. Basic equipment includes a screwdriver, hammer, drill, tape measure, level, and chisel. These allow you to remove the old door, align the new one, and secure hardware properly. Materials you’ll need include hinges, screws, shims, weather stripping, and of course, the replacement door slab itself.
It’s smart to prepare all supplies before starting the project. Keeping tools organized prevents delays and makes the process smoother. If your project involves painting or sealing, add primer, paint, or stain to your list. Having everything ready ensures efficiency and reduces mistakes. With preparation complete, you’ll move confidently into the actual replacement steps.
Step 1: Taking Accurate Measurements
Proper measurement is the foundation of successful installation. Start by measuring the width, height, and thickness of your existing door. Write down each number carefully. Also measure the door frame and note hinge placement. Even small errors can cause poor fit, so double-check all figures before purchasing your new door.
Accuracy guarantees smooth installation and eliminates frustration. A well-sized door reduces gaps, ensuring security and insulation. When shopping for a new door, bring your notes to compare sizes. If you’re unsure, ask for expert advice. Correct measurement helps you avoid costly returns and ensures your project moves forward without setbacks or wasted time.
Step 2: Removing the Old Door Slab
Begin by unscrewing hinges using a screwdriver or drill. Support the door as you remove each hinge pin to prevent it from falling. Once free, carefully lift the slab out of the frame. If the door is heavy, ask for help. This avoids accidents and protects both you and the surrounding wall or floor.
Take care not to damage the door frame during removal. Scratches or dents can create problems later during installation. Inspect the old hinges and hardware—sometimes they can be reused if still in good condition. With the slab removed safely, the doorway is now ready for inspection and any necessary frame adjustments before installing your new door.
Step 3: Preparing the Frame for the New Door
Inspect the door frame carefully for damage or weakness. Look for loose wood, cracks, or areas out of alignment. Use shims or filler to strengthen weak spots and ensure squareness. A level helps confirm that the frame is straight. This preparation step is critical to prevent future issues such as sticking or uneven gaps.
If the frame is damaged beyond repair, consider replacing it entirely. A sturdy door frame ensures your new door works correctly and lasts longer. Addressing alignment issues now saves time later. Smooth out rough edges with sandpaper, tighten screws, and confirm hinges are aligned. Once complete, the frame is ready to support your new door slab securely.
Step 4: Setting the New Door in Place
Position the new door into the prepared frame. Align the hinges with their slots and secure them with screws. Insert hinge pins carefully to hold the door. Check that it swings freely without rubbing against the frame. Patience here prevents long-term issues, so take your time adjusting for the perfect fit.
Ensure the door sits evenly from top to bottom. Use a level to confirm proper alignment. If needed, add shims behind hinges for balance. Tighten all screws securely, but avoid overtightening, which can cause damage. Once installed, the door should swing smoothly and close tightly, creating a secure and functional entryway for your home.
Step 5: Checking the Fit and Adjustments
With the door installed, test it several times. Open and close to ensure smooth movement. Watch for rubbing against the floor or frame. If problems occur, adjust hinges or lightly sand the edges. Small corrections now guarantee long-term satisfaction. A well-aligned door also improves insulation and reduces energy loss around entry points.
Check for consistent spacing along all sides. Gaps should be even, with no areas too tight or too wide. Adjust screws, add shims, or re-position hinges if needed. These minor tweaks may seem tedious but provide a polished result. Taking the time ensures your door looks professional and functions reliably in everyday use.
Step 6: Finishing Details That Matter
After alignment, add finishing touches. Install locks, handles, and weather stripping to improve security and insulation. If required, attach a door sweep to block drafts. Choose hardware that complements your style while providing durability. These details make the difference between a basic installation and a polished, professional result you’ll appreciate daily.
Finally, consider painting, sealing, or staining your new door. A fresh finish enhances durability against moisture and wear. It also adds character to your home’s appearance. Select colors or finishes that match your décor. Proper sealing protects the wood and ensures your investment lasts for years, maintaining both beauty and functionality over time.
Safety Reminders for DIY Door Replacement
Safety should always come first. Wear gloves and protective eyewear when handling tools. Doors can be heavy, so lift with proper technique to prevent injuries. If possible, ask a friend to assist when removing or installing slabs. Taking simple precautions ensures the project is completed without accidents or unnecessary stress.
Be mindful of surrounding areas. Watch for nearby electrical wiring, fragile flooring, or walls that could be damaged during the process. Always disconnect power tools when not in use. Keep your workspace clear of clutter. With these precautions, replacing a door becomes a manageable and safe DIY project for any determined homeowner.

Mistakes People Make When Replacing Doors
One common mistake is failing to measure correctly. Even small miscalculations cause poor fitting, leading to drafts and sticking. Another frequent issue is overtightening screws, which weakens wood or distorts hinge placement. Skipping frame preparation can also create problems, as a weak base prevents the door from functioning properly over time.
Homeowners often overlook weatherproofing after installation. Neglecting to add weather stripping or sealing results in energy loss and higher utility bills. Rushing through adjustments is another error, leaving doors uneven or noisy. Being patient and following steps carefully ensures success. Avoiding these mistakes saves time, money, and frustration in the long run.
Why DIY Door Replacement Can Be Worth It
Taking on the project yourself saves labor costs and allows full control over design and finish. Many homeowners enjoy learning practical skills and the satisfaction of completing improvements independently. With the right tools and guidance, how to replace a door becomes an achievable project rather than an intimidating challenge.
DIY replacement also offers flexibility. You can work at your own pace, choose hardware you love, and make adjustments without rushing. For straightforward door types, the process is relatively simple. Handling it yourself creates pride in your home while improving comfort, security, and style—all without relying entirely on outside help.
When a Professional Is the Better Choice
Not every door replacement is simple. Complex installations such as sliding doors, French doors, or heavy security doors require expert skills. Frames with structural damage also need professional attention. Attempting these projects without experience can waste time and money. In such cases, hiring a pro ensures safety and long-lasting results.
Warranty coverage is another factor. Many professional services guarantee their work, giving you peace of mind. Experts bring precision, experience, and the right tools to handle challenges efficiently. If you value convenience and want to avoid risks, choosing professional installation is the smarter decision for protecting your home and investment.

Expert Door Installation Services Near You
For homeowners who prefer expert help, Caspi Home Service offers reliable door and window installation. Their trained technicians ensure accuracy, safety, and durability in every project. From standard entry doors to custom designs, they provide solutions that enhance both function and appearance while saving homeowners valuable time and effort.
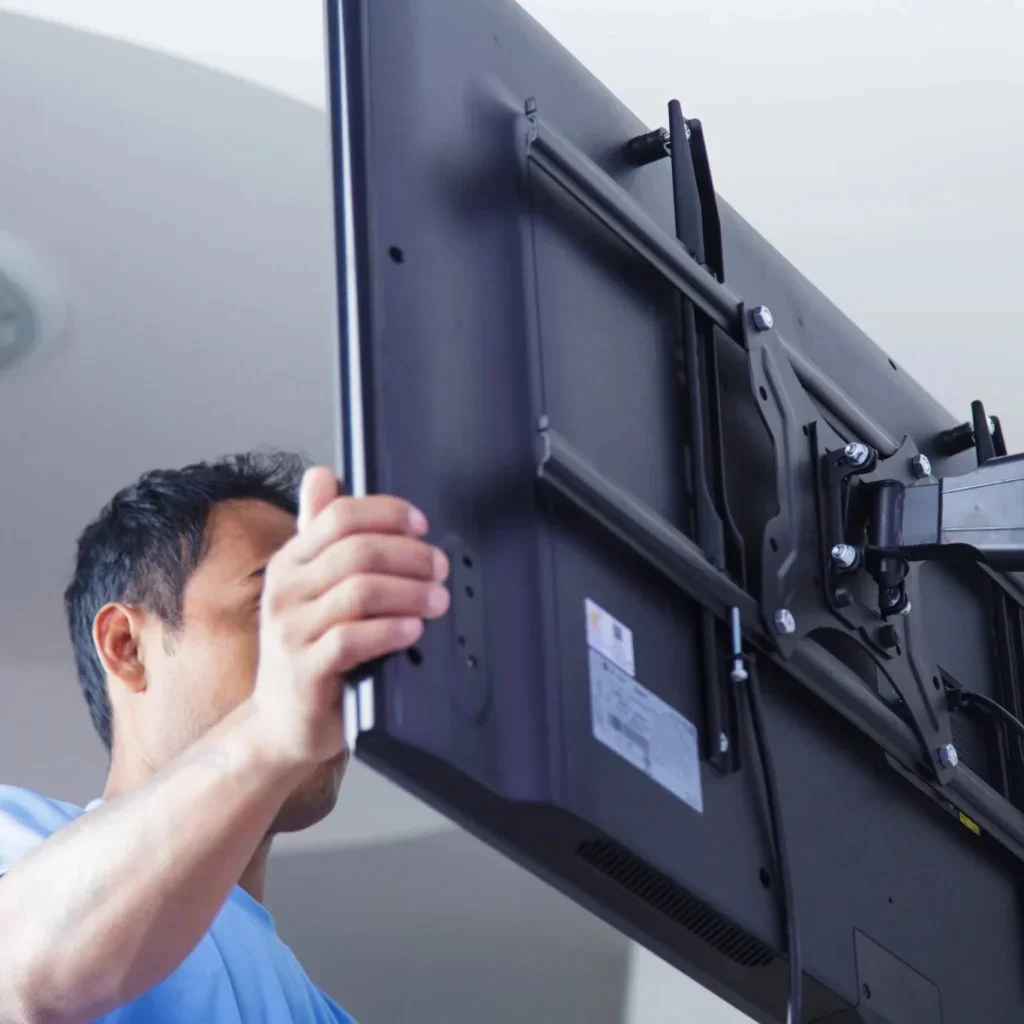
Beyond doors, Caspi Home Service also provides handyman support, including floor installation, TV mounting, and appliance repair. Choosing a trusted local provider means gaining consistent results and ongoing support for your home. With their professional approach, you’ll enjoy smooth installations backed by expertise and customer satisfaction.
Frequently Asked Questions
How long should a door replacement take?
A standard replacement takes about two to three hours. Complex installations may require additional time depending on the type and condition of the frame.
Can I keep my existing frame?
Yes, if the door frame is square and undamaged. If it’s warped or cracked, repairing or replacing it is the better option.
What’s the easiest type of door to install?
Pre-hung doors are the simplest choice. They include a frame and hinges, making installation faster and more beginner-friendly.
What’s the average cost of hiring a pro?
The cost of professional services typically ranges from $150 to $500. Price depends on door style, size, and overall project complexity.