An exterior door is more than a simple entry point; it’s a barrier between your home and the outside world. It protects against intruders, reduces energy loss, and adds beauty to your property.
Still, poor installation can cause drafts, leaks, or security risks. This article explains how to install an exterior door with clear steps and professional advice.
Why Exterior Doors Are Important
A strong exterior door is essential for both protection and comfort. It prevents forced entry and gives peace of mind to homeowners. A secure lock system combined with proper hinges can discourage unwanted access.
These doors also help regulate temperature indoors. They keep warm air inside during winter and block hot air during summer. Beyond function, an attractive design can increase property value and enhance curb appeal.
Common Mistakes in Exterior Door Installation
Installing a door may look straightforward, but many errors happen without proper planning. Incorrect measurements often lead to doors that don’t fit well, leaving gaps that waste energy.
Poor sealing is another frequent mistake. Without insulation, moisture seeps in and damages the frame. Using cheap hardware weakens durability. Finally, rushing the process or skipping safety checks creates hazards. Avoiding these mistakes makes installation smoother and safer.
Preparation Before Installing an Exterior Door
Every successful project begins with preparation. Start by measuring the opening carefully, checking height, width, and depth to confirm the door fits perfectly. Inaccurate sizing leads to wasted effort and money.
Inspect the frame closely for signs of damage. Cracks, warping, or rot must be fixed before installation. Clear the work area of clutter and gather essentials like screwdrivers, levels, shims, caulk, insulation foam, and weatherstripping. Good preparation prevents costly delays and ensures a smoother process.
How to Install an Exterior Door – Step by Step
Correct installation requires patience and precision. Each stage builds on the last, so accuracy matters from start to finish.
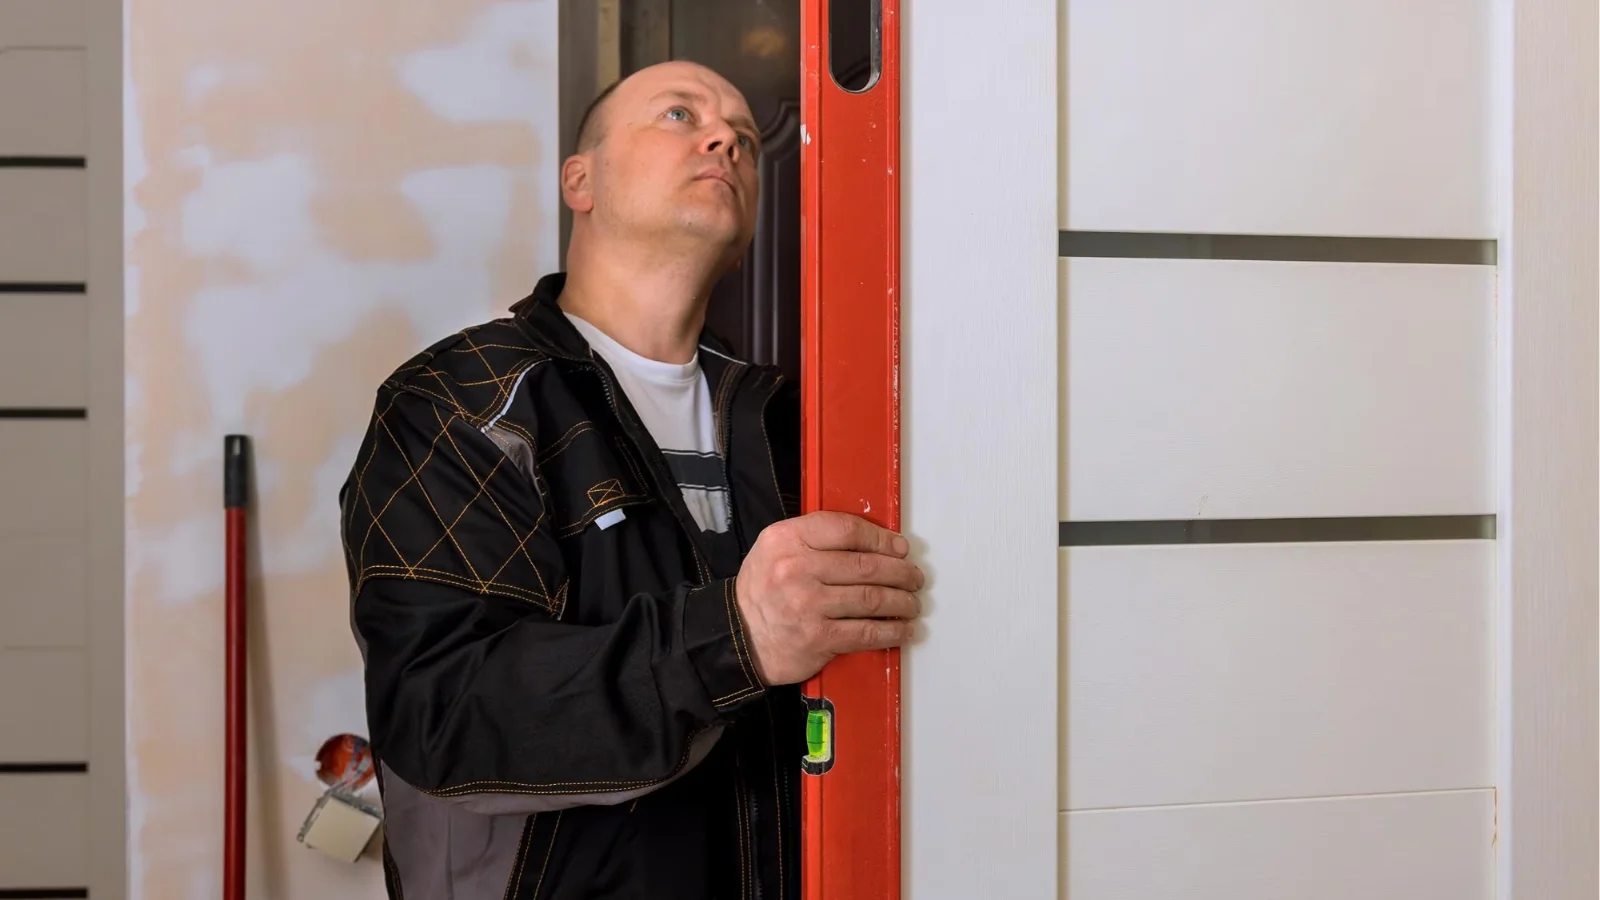
Measure the Opening and Check the Frame
Measure twice to ensure accuracy. Confirm that the sill is level and the side studs are strong. A sturdy frame supports proper alignment. Use a carpenter’s level for precision, and check for moisture damage around the sill. Addressing weak spots early avoids costly corrections after the new door is installed.
Remove the Old Door Carefully
Take off hinges, knobs, and locks before prying the frame loose. Work slowly to avoid damaging drywall, siding, or trim pieces. Label removed hardware for reuse if it’s in good condition. Inspect the exposed frame after removal to confirm it’s stable enough to support the new installation.
Prepare the Opening and Apply Flashing
Clean away old caulk, nails, and debris. Apply waterproof flashing tape along the sill and jambs. This barrier keeps moisture out and extends door life. Press the tape firmly to ensure full adhesion. Overlap edges slightly so water cannot seep through weak points in the flashing.
Place the New Door and Insert Shims
Lift and set the door in the opening with help if needed. Insert shims on both sides to hold it square. This prevents gaps or uneven swings. Place shims near hinges for extra support. Always check the door with a level to maintain plumb alignment before proceeding.
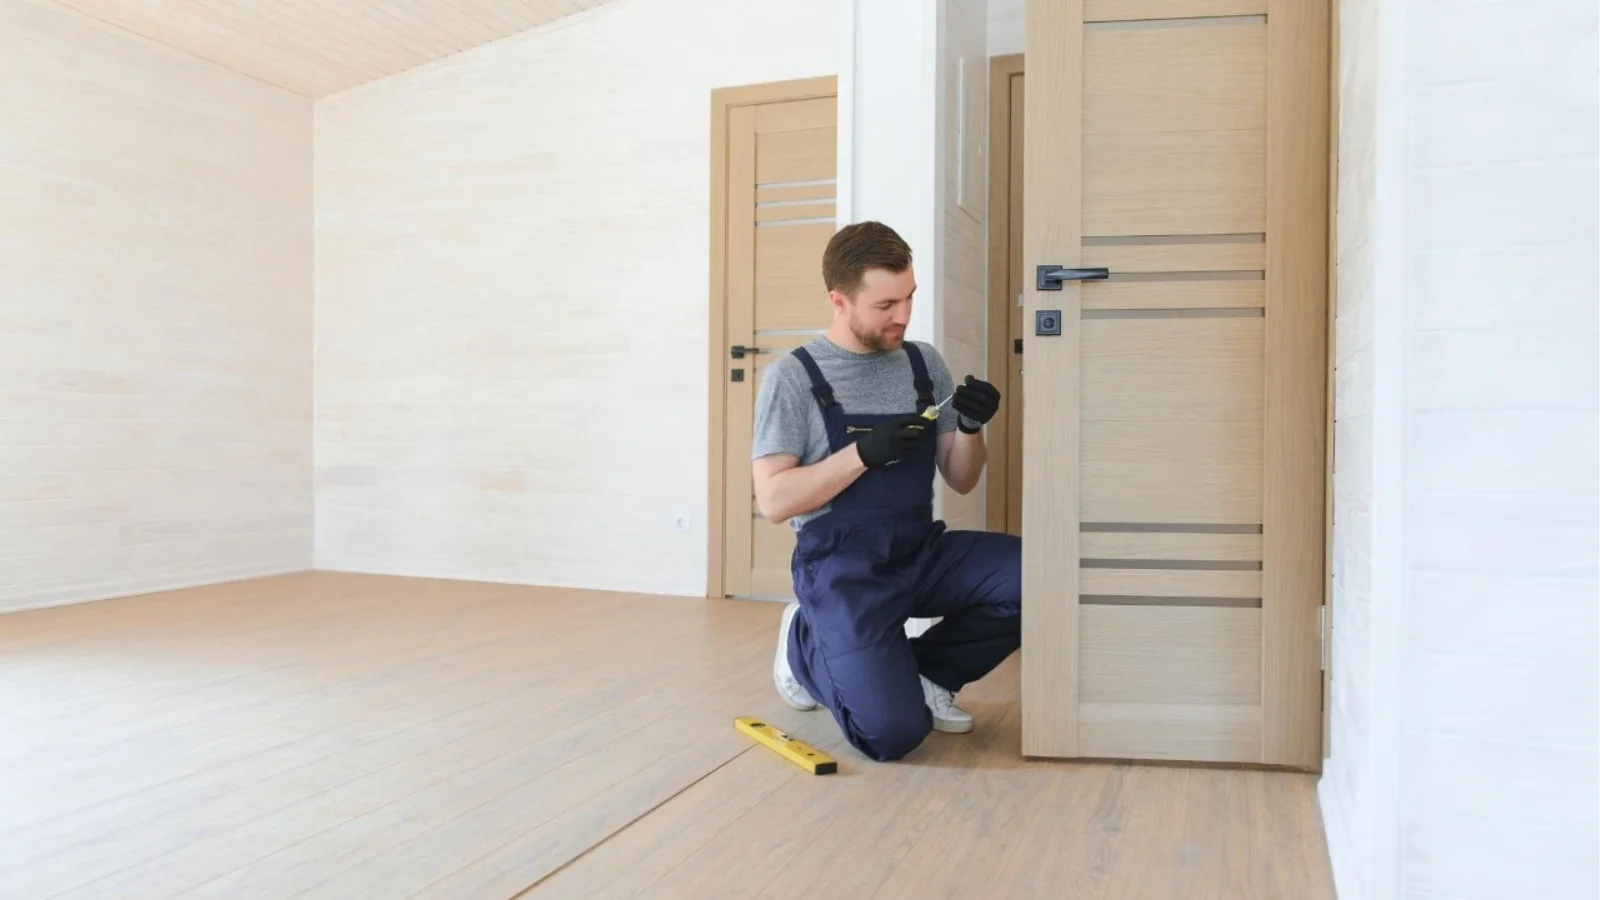
Secure Hinges and Hardware
Attach hinges tightly and check alignment after each screw. Install the lockset and handle, making sure all parts operate smoothly without sticking. Drive long screws into the wall stud for hinge security. Test the latch repeatedly to ensure consistent locking and smooth operation.
Seal Edges and Insulate Gaps
Apply foam insulation between the frame and wall. Seal seams with exterior-grade caulk. Add weatherstripping to block drafts and improve energy efficiency. Avoid overfilling foam, which can warp the frame. Smooth the caulk bead for a neat finish and stronger weather resistance.
Test Alignment and Smooth Operation
Open and close the door several times. Adjust screws or shims if necessary. A properly installed door swings evenly and latches securely without force. Check that weatherstripping compresses evenly. Ensure locks engage smoothly and that the threshold seals tightly against the bottom edge.
DIY vs Professional Door Installation
Some homeowners can manage door installation themselves, while others benefit from hiring experts. The right choice depends on your tools, time, and experience.
| Aspect | DIY Installation | Professional Installation |
| When It Works Best | Simple replacements with an intact frame and basic tools. | Complex installs, new frames, or security doors. |
| Skill Required | Moderate to high; needs accurate measuring and carpentry. | No skill needed; handled entirely by trained technicians. |
| Risks | Drafts, leaks, misaligned hinges, or reduced security. | Minimal risks; warranty and precise fitting included. |
| Time & Effort | Several hours with possible errors. | Faster, efficient, and correct the first time. |
| Cost | Lower upfront but may lead to expensive fixes. | Higher upfront but long-term savings and durability. |
Weatherproofing and Insulation Tips
Even the best door fails without proper sealing. Use caulk around edges to block rainwater and keep interiors dry. Install weatherstripping along the jambs and threshold to reduce air leaks and boost insulation.
Fill gaps between the frame and wall with expanding foam. Check seals regularly, especially before seasonal changes. Strong weatherproofing improves comfort, lowers bills, and protects the door from wear.

Signs You Need a New Exterior Door
If you feel drafts around the frame, your door no longer seals correctly. This small issue can lead to higher utility costs over time.
Other signs include warping, cracks, or visible water damage. A door that sticks or squeaks indicates failing hinges or frame stress. Outdated designs or weak locks also reduce security, making replacement urgent.
Safety Risks of Poor Door Installation
- Weak security – Improper installation makes break-ins easier.
- Water leaks – Gaps let moisture in, damaging floors or walls.
- High energy costs – Drafts reduce efficiency and raise bills.
- Structural stress – Misaligned doors strain hinges and frames.
- Lower property value – A poorly installed door reduces appeal.
Call for Expert Exterior Door Installation Today
Installing an exterior door requires skill, precision, and patience. Small errors weaken security, reduce energy efficiency, and cause costly long-term issues.
Hiring professionals ensures a strong, secure fit. Experienced technicians complete the job quickly and correctly. Call (803) 830-5098 today for trusted exterior door installation services that protect your home, improve comfort, and add long-lasting value to your property.
Conclusion
An exterior door improves security, comfort, and overall design. Proper installation prevents leaks, drafts, and weak spots that can compromise safety and lead to energy loss. Caspi Home Service provides professional exterior door installation to ensure durability, efficiency, and a secure fit.
Homeowners may handle simple jobs, but professional help is recommended for more complex installations. By learning how to install an exterior door and following proper safety steps, you can achieve a strong, attractive, and long lasting entrance that adds value and protection to your home for years to come.
Frequently Asked Questions
Can I install an exterior door without replacing the frame?
Yes, if the frame is solid and undamaged. Replace it if cracked, warped, or rotten for safety and performance.
How long does installation take?
DIY may take several hours with breaks for adjustments. Professionals usually complete the process in two to three hours.
Do I need special tools for door installation?
Basic tools like a level, screwdrivers, and shims are often enough. Complex jobs may require power tools or extra equipment.
What is the best way to insulate an exterior door?
Apply caulk, weatherstripping, and expanding foam around edges and gaps. These materials keep drafts out and maintain energy efficiency.