A malfunctioning garbage disposal can bring your kitchen cleanup routine to a grinding halt. If you’re searching for how to fix a garbage disposal, you’ve come to the right place. Whether your unit won’t turn on, makes strange noises, or seems jammed, most garbage disposal problems can be resolved without calling a professional.
This comprehensive guide will walk you through common issues and their solutions, helping you get your disposal back in working order quickly and safely.
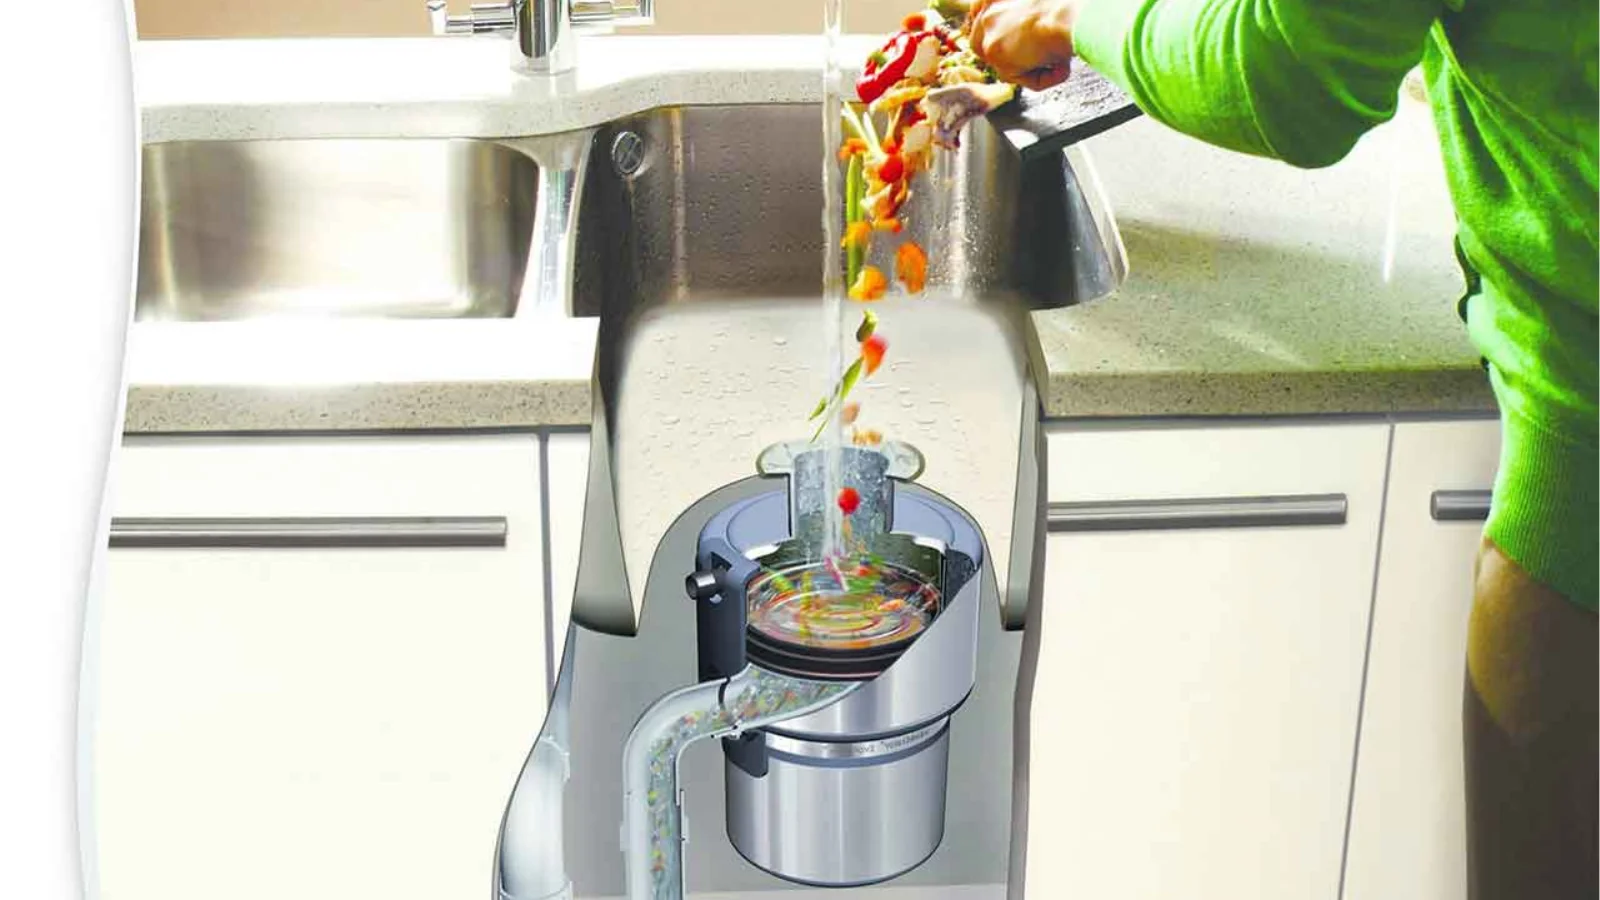
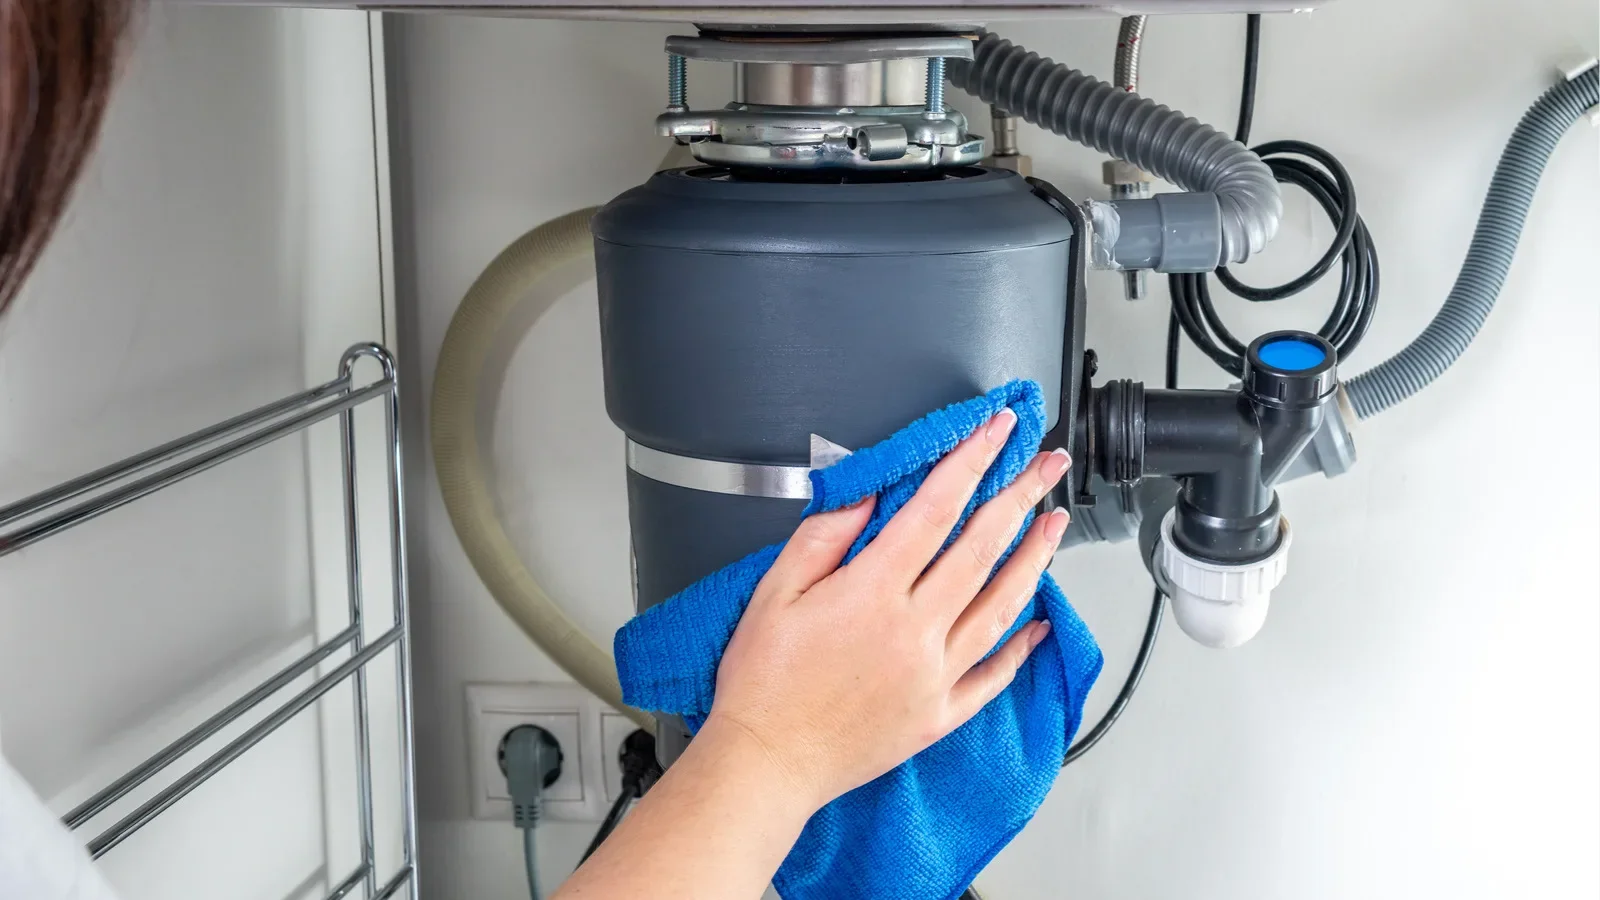
Understanding how your garbage disposal works is the first step in troubleshooting problems. These hardworking kitchen appliances grind food waste into small particles that can safely pass through your plumbing system. When they stop working properly, it’s often due to simple issues that homeowners can fix themselves.
Common Garbage Disposal Problems and Their Causes
Before attempting any repairs, it’s essential to identify what’s wrong with your disposal. Here’s a comprehensive breakdown of the most frequent issues:
According to industry data, approximately 70% of garbage disposal problems are related to jams or clogs. The remaining 30% involve electrical issues, leaks, or worn components. Understanding these statistics helps prioritize your troubleshooting approach.
Essential Safety Precautions
Safety must be your top priority when working on any electrical appliance.
Critical Safety Steps:
Never put your hand inside a garbage disposal, even when it’s turned off. Always turn off the power at the circuit breaker before performing any repairs or inspections.
Keep a flashlight handy to inspect the disposal chamber without getting too close. Use proper tools like pliers or tongs to remove any visible objects.
Wait at least 15 minutes after the disposal stops running before attempting to check for jams. This allows the motor to cool down and reduces the risk of burns or electrical shock.
If you’re uncomfortable working with electrical components, similar to other appliance repairs, it’s best to contact professionals. Check out our appliance repair services for expert assistance.
Tools and Materials You’ll Need
Having the right tools makes garbage disposal repairs much easier and safer:
Most garbage disposals come with a hex wrench specifically sized for the model. If you’ve lost yours, a standard 1/4 inch Allen wrench typically works for most units.
Step by Step Guide: Fixing a Garbage Disposal That Won’t Turn On
This is one of the most common problems homeowners face.
Check the Reset Button
Located on the bottom of the disposal unit, the reset button is a small red or black button that pops out when the motor overheats or overloads.
Press the reset button firmly. You should hear or feel it click back into place. If it pops back out immediately, wait 10 minutes for the motor to cool before trying again.
Try running the disposal. If it works, you’ve solved the problem. If the reset button keeps popping out, you likely have a more serious electrical issue or jam.
Verify Power Supply
Check your circuit breaker panel to ensure the disposal’s circuit hasn’t tripped. Reset any tripped breakers and test the disposal again.
Test the wall switch that controls the disposal. Sometimes the switch itself fails rather than the disposal unit.
Plug another appliance into the same outlet to verify power is reaching the disposal. This eliminates the outlet as a potential problem.
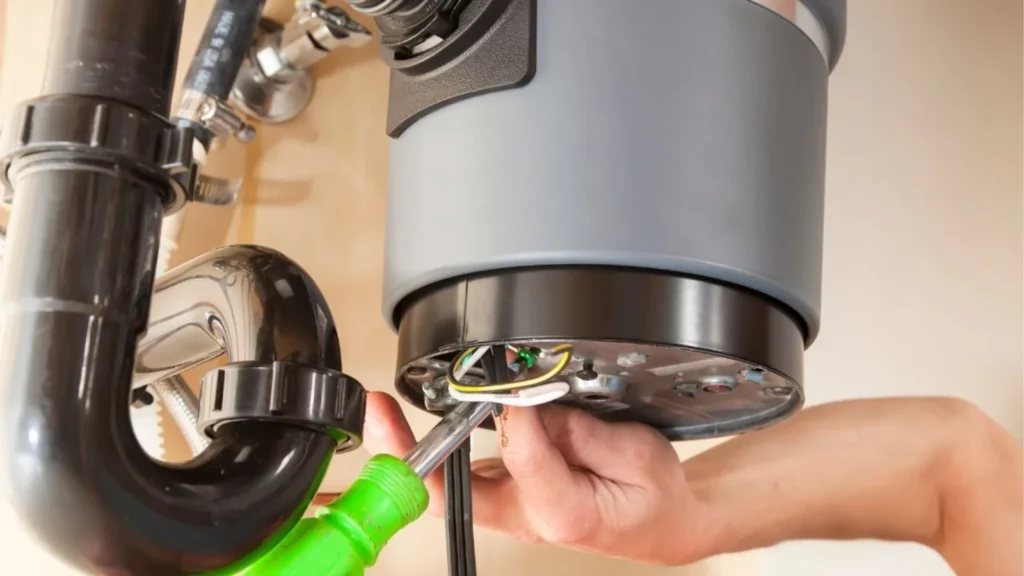
Inspect the Electrical Connections
Turn off power at the circuit breaker before inspecting wiring. Remove the access plate on the bottom of the disposal to check wire connections.
Look for loose, corroded, or disconnected wires. Tighten any loose connections with a screwdriver.
If wiring appears damaged or you’re unsure about electrical work, contact a professional. Similar to dishwasher repairs, electrical issues require careful handling.
Fixing a Jammed Garbage Disposal
A humming sound without grinding indicates a jammed flywheel. This is one of the easiest problems to fix.
Manual Rotation Method
Turn off all power to the disposal at the circuit breaker. This step is absolutely critical for safety.
Insert the hex wrench into the hole at the bottom center of the disposal. This hole provides direct access to the motor shaft.
Turn the wrench back and forth forcefully. You should feel resistance initially, then the wrench should turn more freely as the jam clears.
Continue rotating until you can complete full 360-degree rotations easily. This indicates the flywheel is moving freely again.
Remove the wrench, restore power, and press the reset button. Run cold water and turn on the disposal to test.
Removing Foreign Objects
Use a flashlight to look down into the disposal from above. Never use your hands to feel around inside.
Common jamming culprits include utensils, bottle caps, bones, fruit pits, and jewelry. Use pliers or tongs to carefully extract any visible objects.
Once removed, test the manual rotation again to ensure smooth operation.
Addressing Garbage Disposal Leaks
Leaks can occur at several points and require different solutions depending on the location.
Sink Flange Leaks
The sink flange connects the disposal to your sink drain. Leaks here appear at the top of the disposal unit.
Tighten the mounting bolts evenly around the flange. Use a screwdriver to ensure all three bolts are secure.
If tightening doesn’t work, you may need to remove the disposal and replace the plumber’s putty seal underneath the flange.
Dishwasher Connection Leaks
If your dishwasher drains through the disposal, check the rubber hose connection on the side of the unit.
Tighten the hose clamp with a screwdriver. Replace the hose if it shows signs of cracking or deterioration.
For more information on dishwasher connections, visit our guide on how to fix a dishwasher.
Discharge Pipe Leaks
The discharge pipe carries ground waste from the disposal to your drain system. Leaks here are common due to vibration loosening connections.
Tighten the nuts connecting the discharge pipe to the disposal and drain system. Replace any worn gaskets or washers.
Apply plumber’s putty or Teflon tape to threaded connections for a better seal.
Dealing with Slow Draining
Slow drainage indicates a clog in the disposal or connected plumbing.
Clear the Disposal Itself
Fill the sink with 3 to 4 inches of water. Turn on the disposal and quickly pull the sink stopper to create a flushing action.
This method uses water pressure to push debris through the system. Repeat several times if necessary.
Clear the Drain Line
If the disposal drains but the sink doesn’t, the problem is likely in the drain pipe beyond the disposal.
Place a bucket under the P-trap. Disconnect the trap and clean out any accumulated debris.
Use a plumber’s snake to clear blockages further down the line. This technique is similar to addressing drainage issues in other appliances, as explained in our washing machine repair guide.
Noise Troubleshooting
Different sounds indicate different problems with your garbage disposal.
Sound Analysis:
Grinding or rattling sounds usually mean hard objects like bones, pits, or metal items are bouncing around inside. Remove these immediately to prevent damage.
Loud humming without grinding indicates a jammed motor. Follow the manual rotation procedure described earlier.
High-pitched squealing or screeching suggests worn bearings or a damaged motor. This typically requires professional replacement.
Gurgling sounds during or after use indicate venting or drainage issues rather than disposal problems. Check your plumbing system for proper venting.
Preventive Maintenance Tips
Proper maintenance extends your garbage disposal’s lifespan significantly and prevents most common problems.
Run cold water before, during, and for 15 seconds after using the disposal. Cold water solidifies grease, allowing it to be ground up and flushed away effectively.
Clean your disposal weekly by grinding ice cubes and citrus peels. This removes buildup and eliminates odors naturally.
Never put fibrous materials like celery, corn husks, or onion skins down the disposal. These items wrap around the blades and cause jams.
Avoid pouring grease, oil, or fat down the disposal. These substances coat the grinding chamber and pipes, leading to clogs and reduced efficiency.
Industry research shows that proper maintenance can extend a garbage disposal’s life from the average 8 to 10 years up to 12 to 15 years. Regular care also reduces repair costs by approximately 60%.
When to Call a Professional
While many garbage disposal issues are DIY-friendly, some situations require professional expertise.
Call a professional if the motor runs but makes no grinding sound after clearing jams. This indicates internal damage to the grinding mechanism.
Persistent electrical problems, including frequent circuit breaker trips or burning smells, require immediate professional attention for safety reasons.
If your disposal is more than 10 years old and experiencing multiple problems, replacement is often more cost-effective than repeated repairs.
Water leaks from the disposal body itself (not connections) indicate a cracked housing that requires unit replacement.
Our experienced technicians provide expert repairs throughout multiple locations. Check our Charleston appliance repair services or find help in your area through our locations page.
Garbage Disposal Repair Cost Analysis
Understanding repair costs helps you make informed decisions:
According to appliance repair industry data, the national average for professional garbage disposal repairs ranges from $100 to $250. However, 65% of common issues can be resolved by homeowners at no cost beyond basic tools.
Final Thoughts
Learning how to fix a garbage disposal empowers you to handle most common problems quickly and affordably. From simple resets to clearing jams and addressing leaks, these repairs are well within reach for most homeowners.
Remember to always prioritize safety by turning off power before working on your disposal. Take your time to diagnose the problem correctly before attempting repairs.
Regular maintenance prevents most issues from occurring in the first place. Simple habits like running cold water and avoiding problematic foods keep your disposal functioning smoothly for years.
When problems exceed your comfort level or indicate serious mechanical failure, don’t hesitate to seek professional help. Expert technicians can quickly diagnose and repair complex issues while ensuring your safety.
Keep this guide handy for future reference, and you’ll be prepared to tackle garbage disposal problems as they arise. Your kitchen cleanup routine will thank you.